Getting started with ArcGIS JavaScript API in Angular
The ArcGIS JavaScript API allows developers to add interactive maps and build features on top of it using 2D and 3D visualizations. In this case I will work with the ArcGIS JavaScript API in an Angular app. I leave the link to the ArcGIS documentation here for you.
The code for this demo is available in my GitHub account here. You should be able to follow the step by step guide using the branches in the repository where you will find one branch per step.
We will create the Angular app using the Angular CLI and AcrGIS will be installed using the latest NPM package available today. At the moment of creating this sample app this is how my environment looked like:
- Angular CLI: 16.2.4
- Node: 18.15.0
- Package Manager: npm 9.5.0
- OS: win32 x64
- ArcGIS Maps SDK for JavaScript: 4.27
Angular + ArcGIS step by step
Step 1: Creating a clean Angular app using the CLI
-
npm install -g @angular/cli -
ng new angular-arcgis -
At this point you will get some feedback from the command line and you will have to decide if you are going to include routing and what type of stylesheet format you want.
- Would you like to add Angular routing? Yes
- Which stylesheet format would you like to use? SCSS
Step 2: Installing the ArcGIS package & Creating a map
ArcGIS Core 4.27.6
-
npm i @arcgis/core@latest -
ArcGIS provides different stylesheets for the look & feel of the maps, in my case I want those available for all the app, and I want to use the black theme. I will go to the styles.scss file from my Angular app, which should be empty for now and paste the following line: @import 'https://js.arcgis.com/4.27/@arcgis/core/assets/esri/themes/dark/main.css';
-
ng generate component home -
Angular is a component based framework which promotes reusability of components, given that we may want to user our ArcGIS maps in more than one place in our app we will wrap our ArcGIS maps inside an Angular Map Component. In this step we will create the Map Component and a Home Component which will be just a container component for our map.
ng generate component map
Step 3: Adding a navigation panel and styles
As a last step, I have added a vertical menu which has a couple of items: Map, and About. The first one will be loaded by default and will display the map, and the second will load another page where we will provide some information about the project.
The CSS for this page can be found in a couple of files in the repository: styles.scss, src/app/app.component.scss
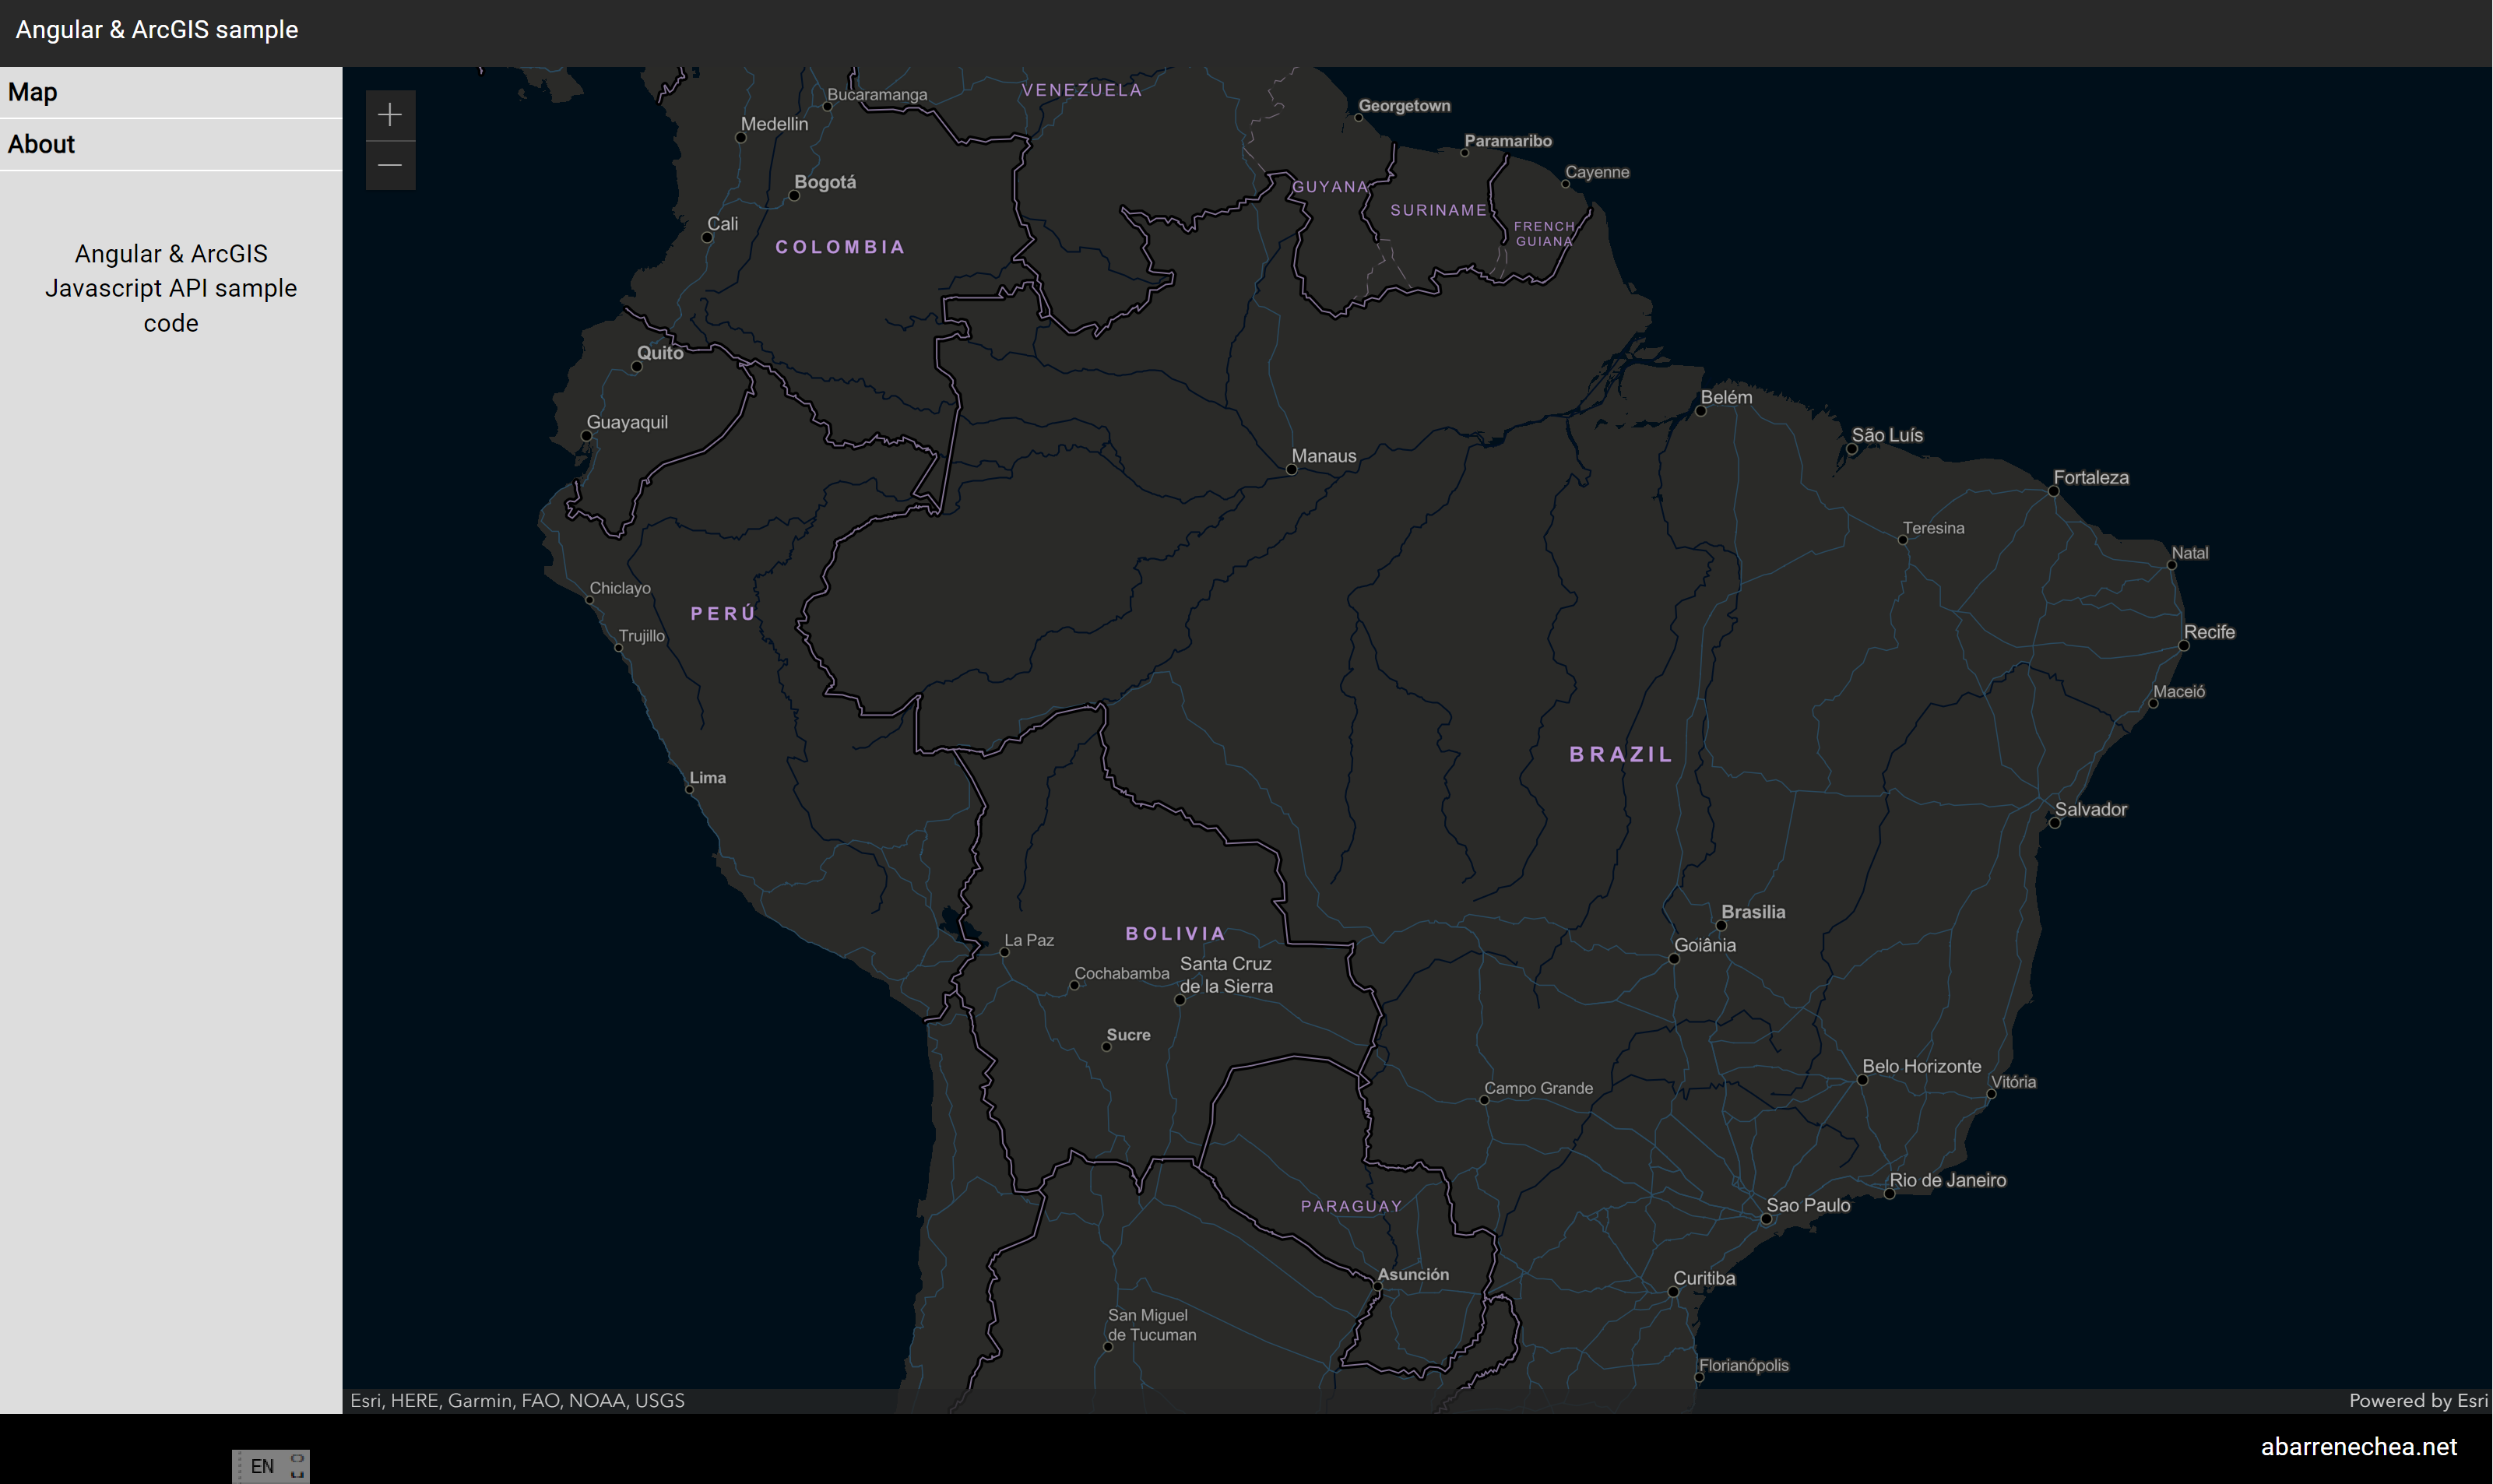
Once you are done, you should get something similar to this.