Installing a Let's Encrypt SSL/TLS certificate on Windows Server [#12]
Using HTTPS (TLS over HTTP) is nowadays required for every type and size of website. Even though, certificates are more accesible and the tooling makes certificate management easier than a decade ago, I still found some sites using an unsecure connection. I have asked some business owners about the reason for it and in most cases it was just misinformation and the idea of high costs and time required for it.
This article will show you how to get a free certificate and install it on Windows Server to use it on your website. I will use a certification authority (CA) called Let’s Encrypt, which emits free certificates. Certificates are free, but there are some limitations that I will explain later; please verify that before using the certificate because you may need a more “advanced” type of certificate in some use cases.
Important SSL terminology and jargon
Before jumping into the certificate generation there are some important acronyms and terms related to the certificates that we need to have clear.
-
CA: Certification Authority. To enable HTTPS for a website a certificate is necesary, this certificate is emited by a Certification Authority. Some known CA’s that emit paid certificates are Commodo SSL Store, Digicert. We also have CA’s such as Let's Encrypt that emit certificates for free.
-
CSR: Certificate Signing Request
-
ACME: Automatic Certificate Management Environment. ACME is a protocol that provides a standard to automate certificate management tasks that in the past used to take some hours to a web masters. This protocol allows a client to request certificate management actions using an API (HTTPS requests and JSON).
-
HTTPS: Hypertext Transfer Protocol Secure
-
SSL Certificate: Secure Socket Layer certificate
-
TSL: Transport Secure Layer
-
pfx: File format owned by Windows that combines the public and private key of a certificate. This file is required when setting up HTTPS binding for a website in IIS.
How have big companies push for the adoption of SSL
-
Web browsers such as Chrome started warning users when websites were not using HTTPS, intially it was for sites that required users to login or managed sensitive data such as ecommerce, but now it is required for all. This is an example of how Chrome flags a page that does not use HTTPS as not secure.

-
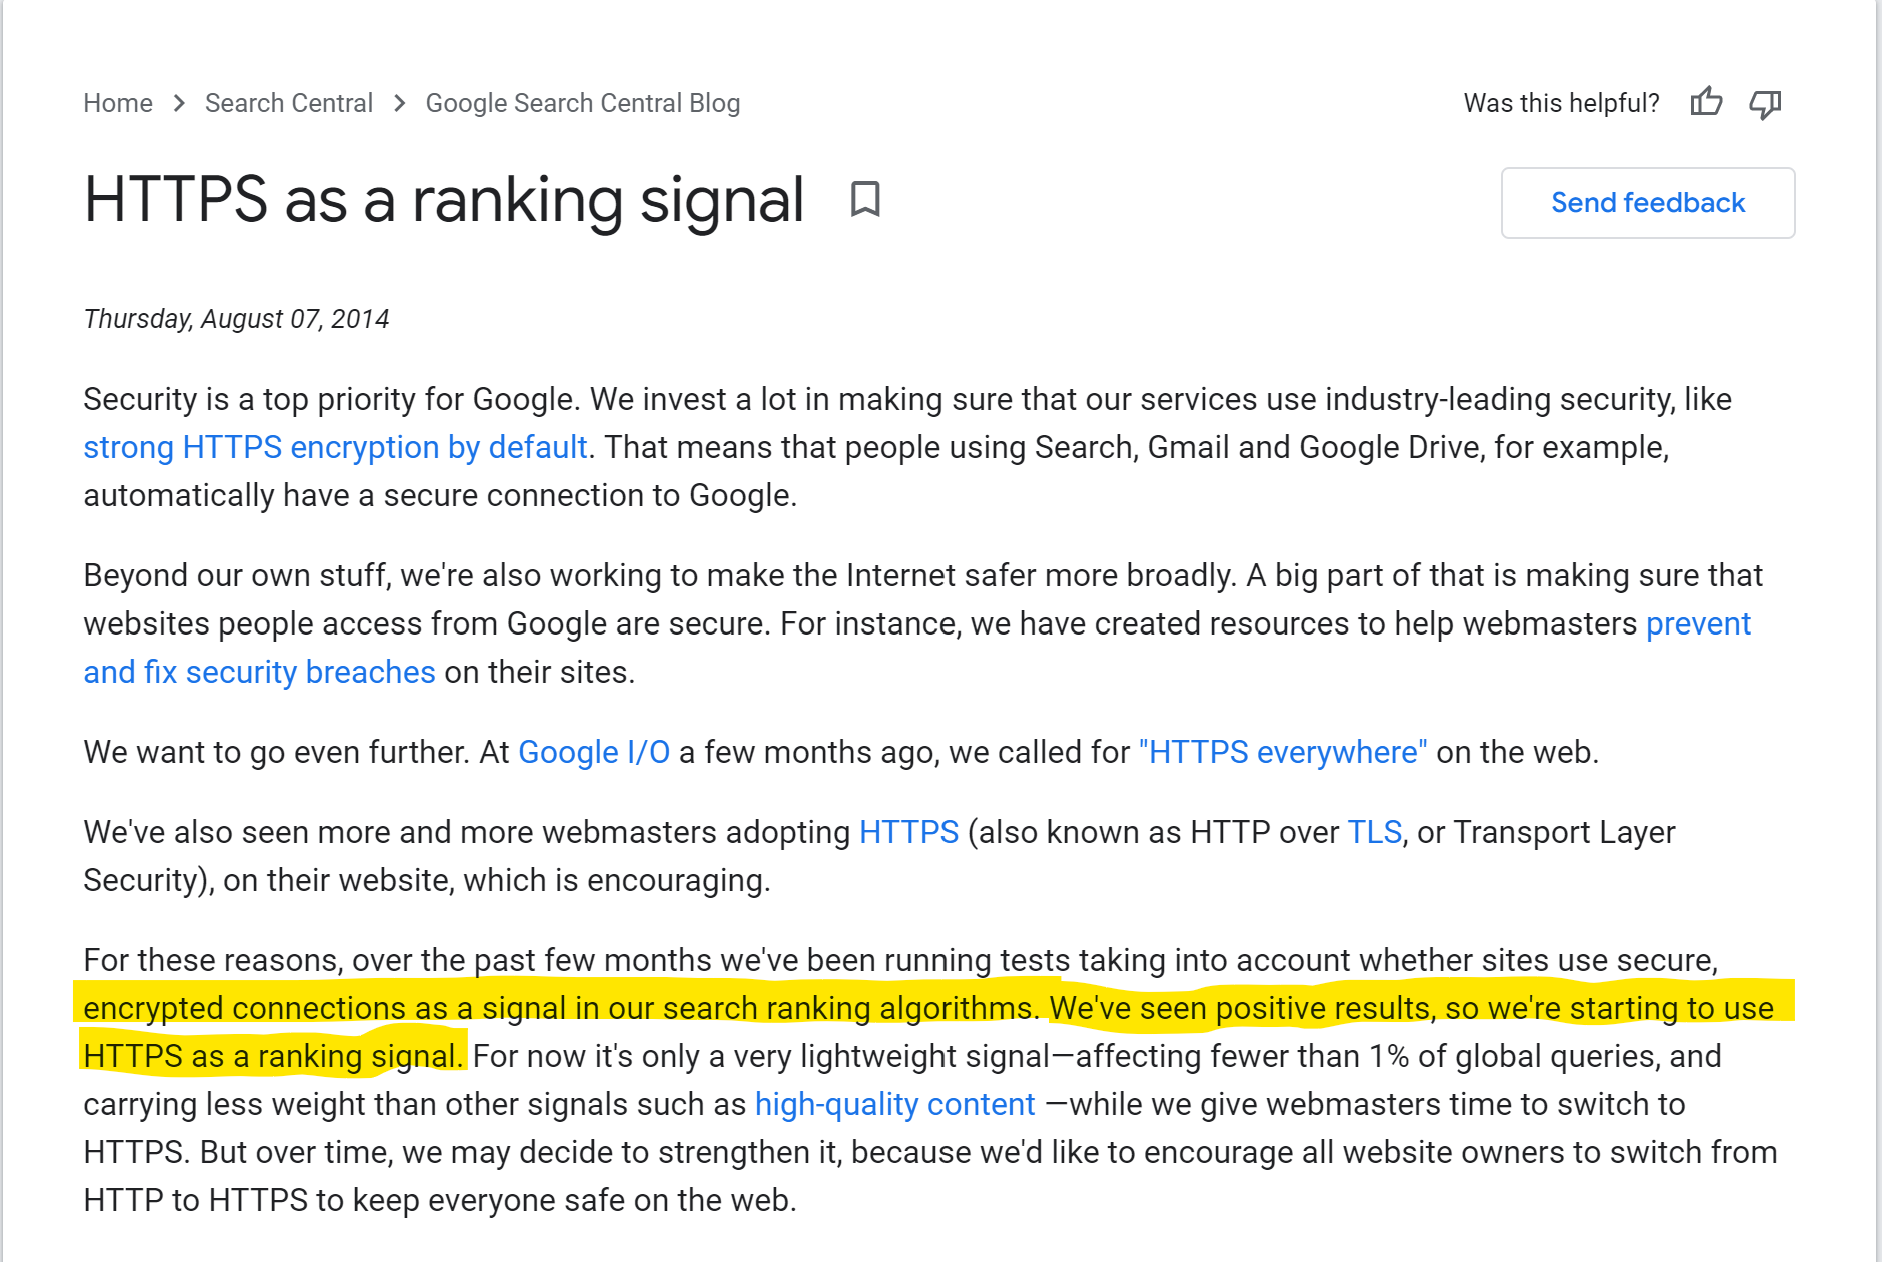
Web sites that don't provide HTTPS are also impacted negatively in SEO. Google mentioned quite afew years ago that they have started considering encrypted connections as a factor for the ranking algorithm.
-
Some APIs such as geolocation and clipboard will only work in production if a TLS certificate is set.
How can you get an SSL certificate?
If you are hosting a website using a provider such as GoDaddy, HostGator, or a serverless service such as Azure App Service, your package may include a free TLS Certificate. I recommend checking with your host provider as a first step. On the other hand, if you are hosting the website on your own or using a service such as AWS EC2 where you have full control of the server, you have two options, buying a TSL from a known provider or getting one for free using a CA provider such as Let’s Encrypt.
Let’s Encrypt is an organization that emits certificates for free. There are some limitations, though. Let’s Encrypt will only do a “Domain Validation” (DV), where it will only verify that the requester has control of the domain. Other paid options will offer other “advanced” options, such as Organization Validation(OV), and Extended Validation (EV), which also verify the real-world identity of the requester.
Generating an SSL certificate for your website.
To generate a TLS certificate, we will need an ACME client. Let’s Encrypt recommends using Certbot, which I would also recommend if you were using a Linux system. You can also run it in Windows, but it doesn’t play well with IIS. When I say that it doesn’t play well with IIS, it is because IIS requires a file with the format pfx, and Certbot will not generate this file for you. You would have to look for some automated or manual option to create the file the first time and then on each renewal of it in the future.
Since this article focuses on Windows systems, I will describe the steps required to get a certificate using an open-source Windows client. There are a few options out there, you can choose one from the list published in Let's Encrypt website here. I chose a GUI client because it gave me more feedback than other command-based clients I tried, which can be helpful when troubleshooting issues related to the certificate generation or renewal.
-
Download a Windows ACME client to the server that is hosting the web site. In this case we will use Certify The Web, you can download it from it's website: https://certifytheweb.com/
-
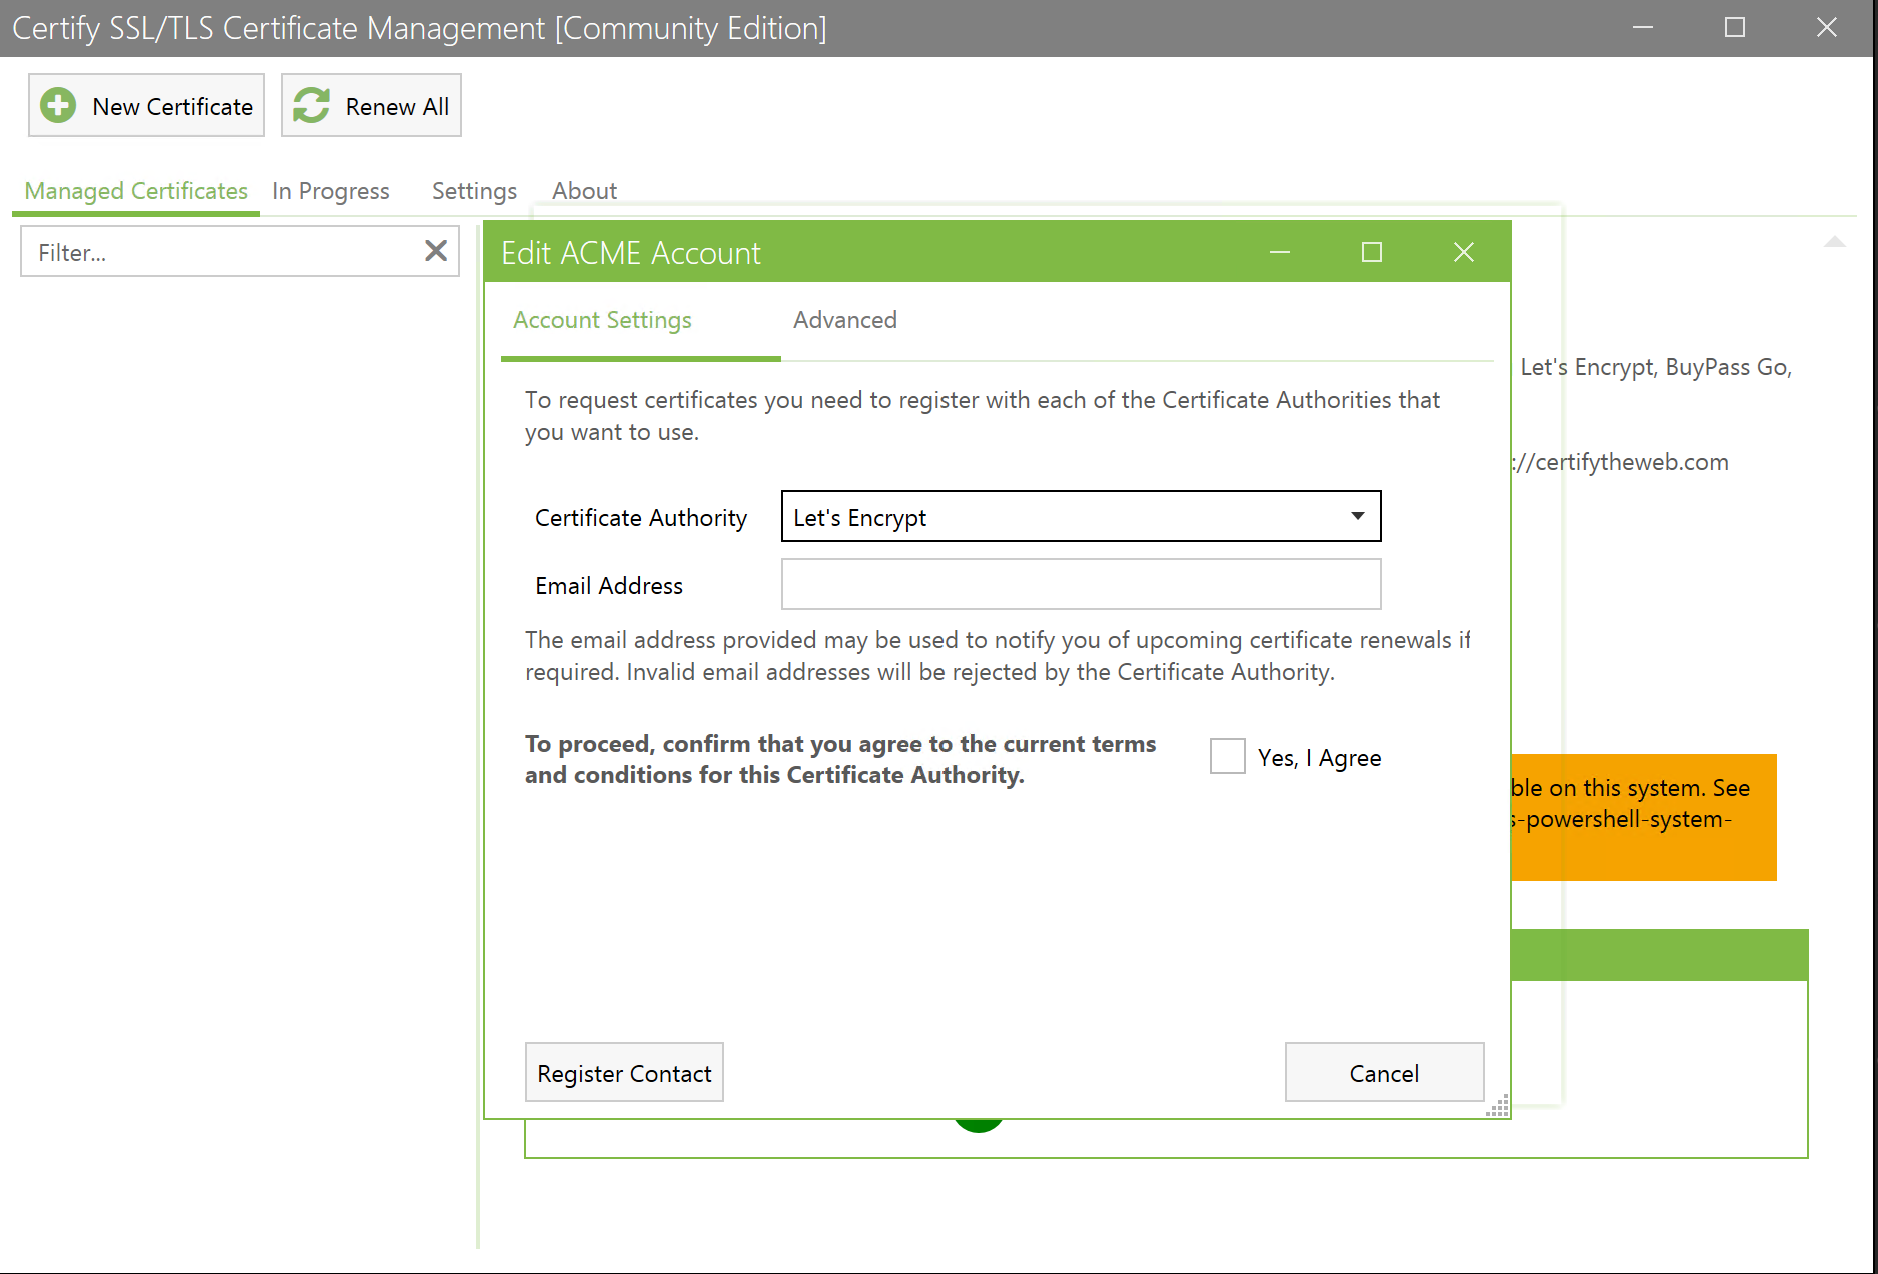
Once it is installed. Open the application and click on "New Certificate". The application will ask you to choose a Certification Authority and input an email address which will be used to contact you for reminders related to the certificate status. Fill in the fields, check the terms and conditions box and click on "Register Contact"
-
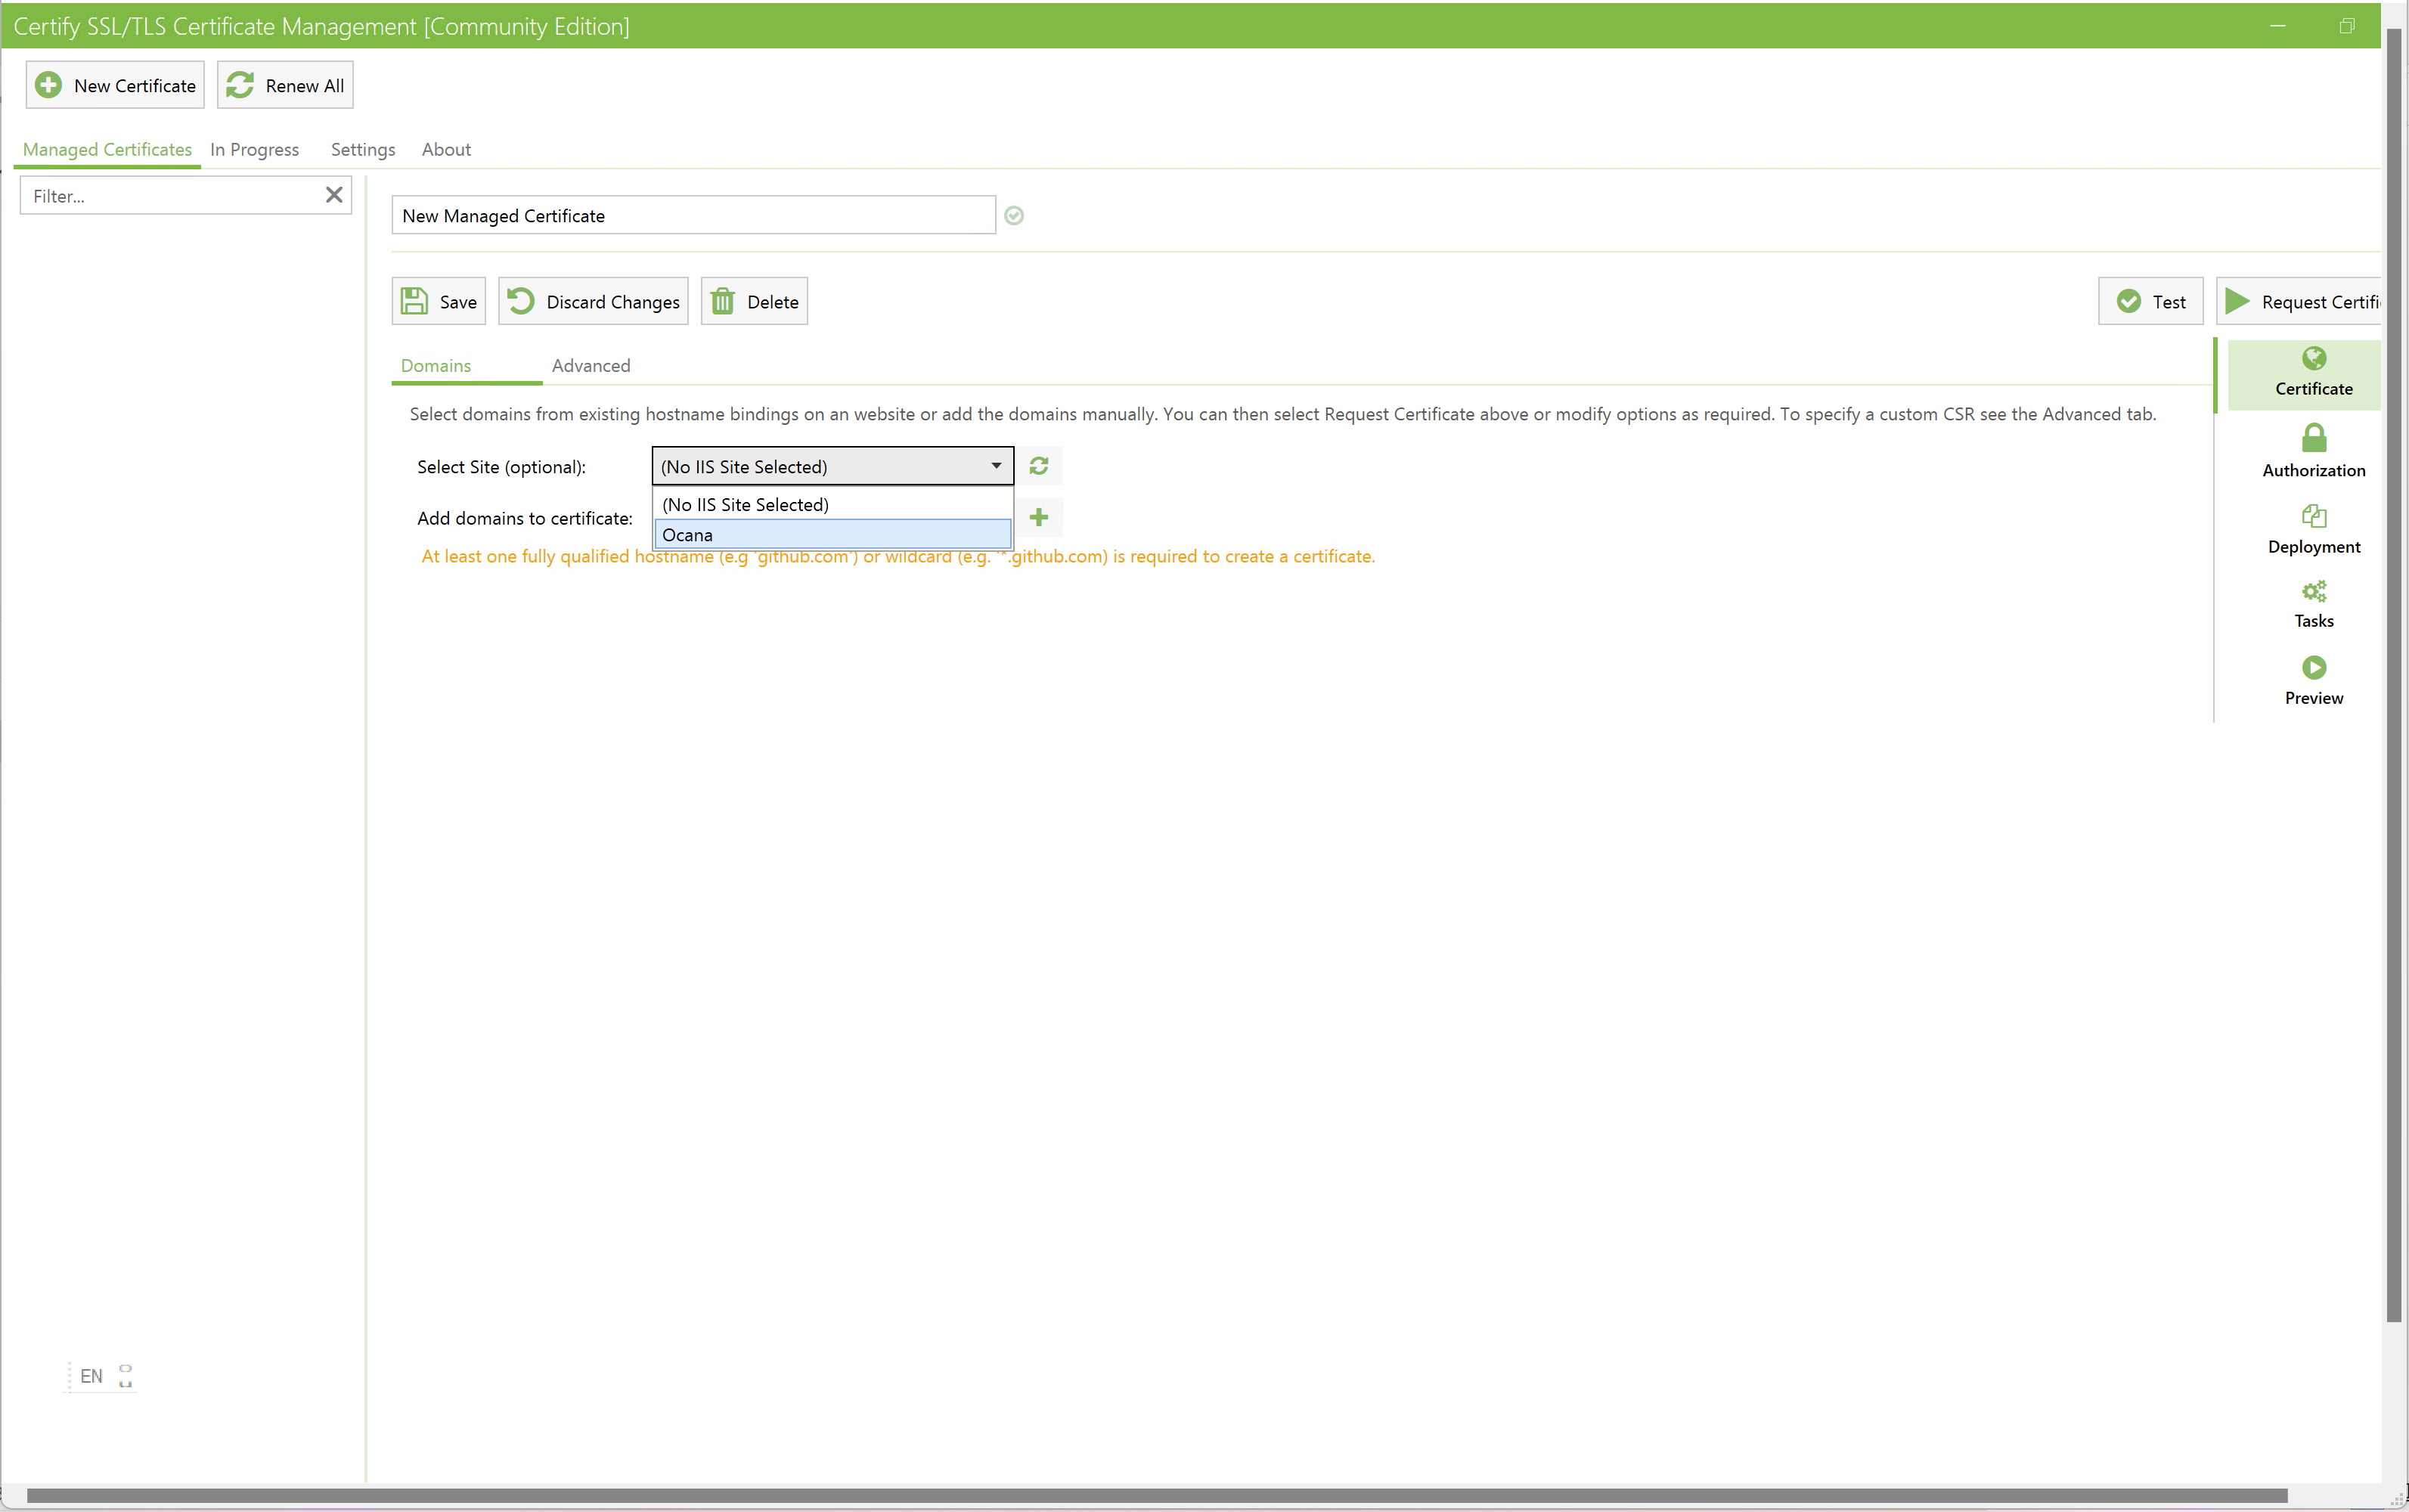
If you have applications running on IIS, Certify the Web will show a dropdown with the list of apps. You can select the app from the dropdown or input the domain manually. In this case I will select the only website I have running in this EC2 instance.
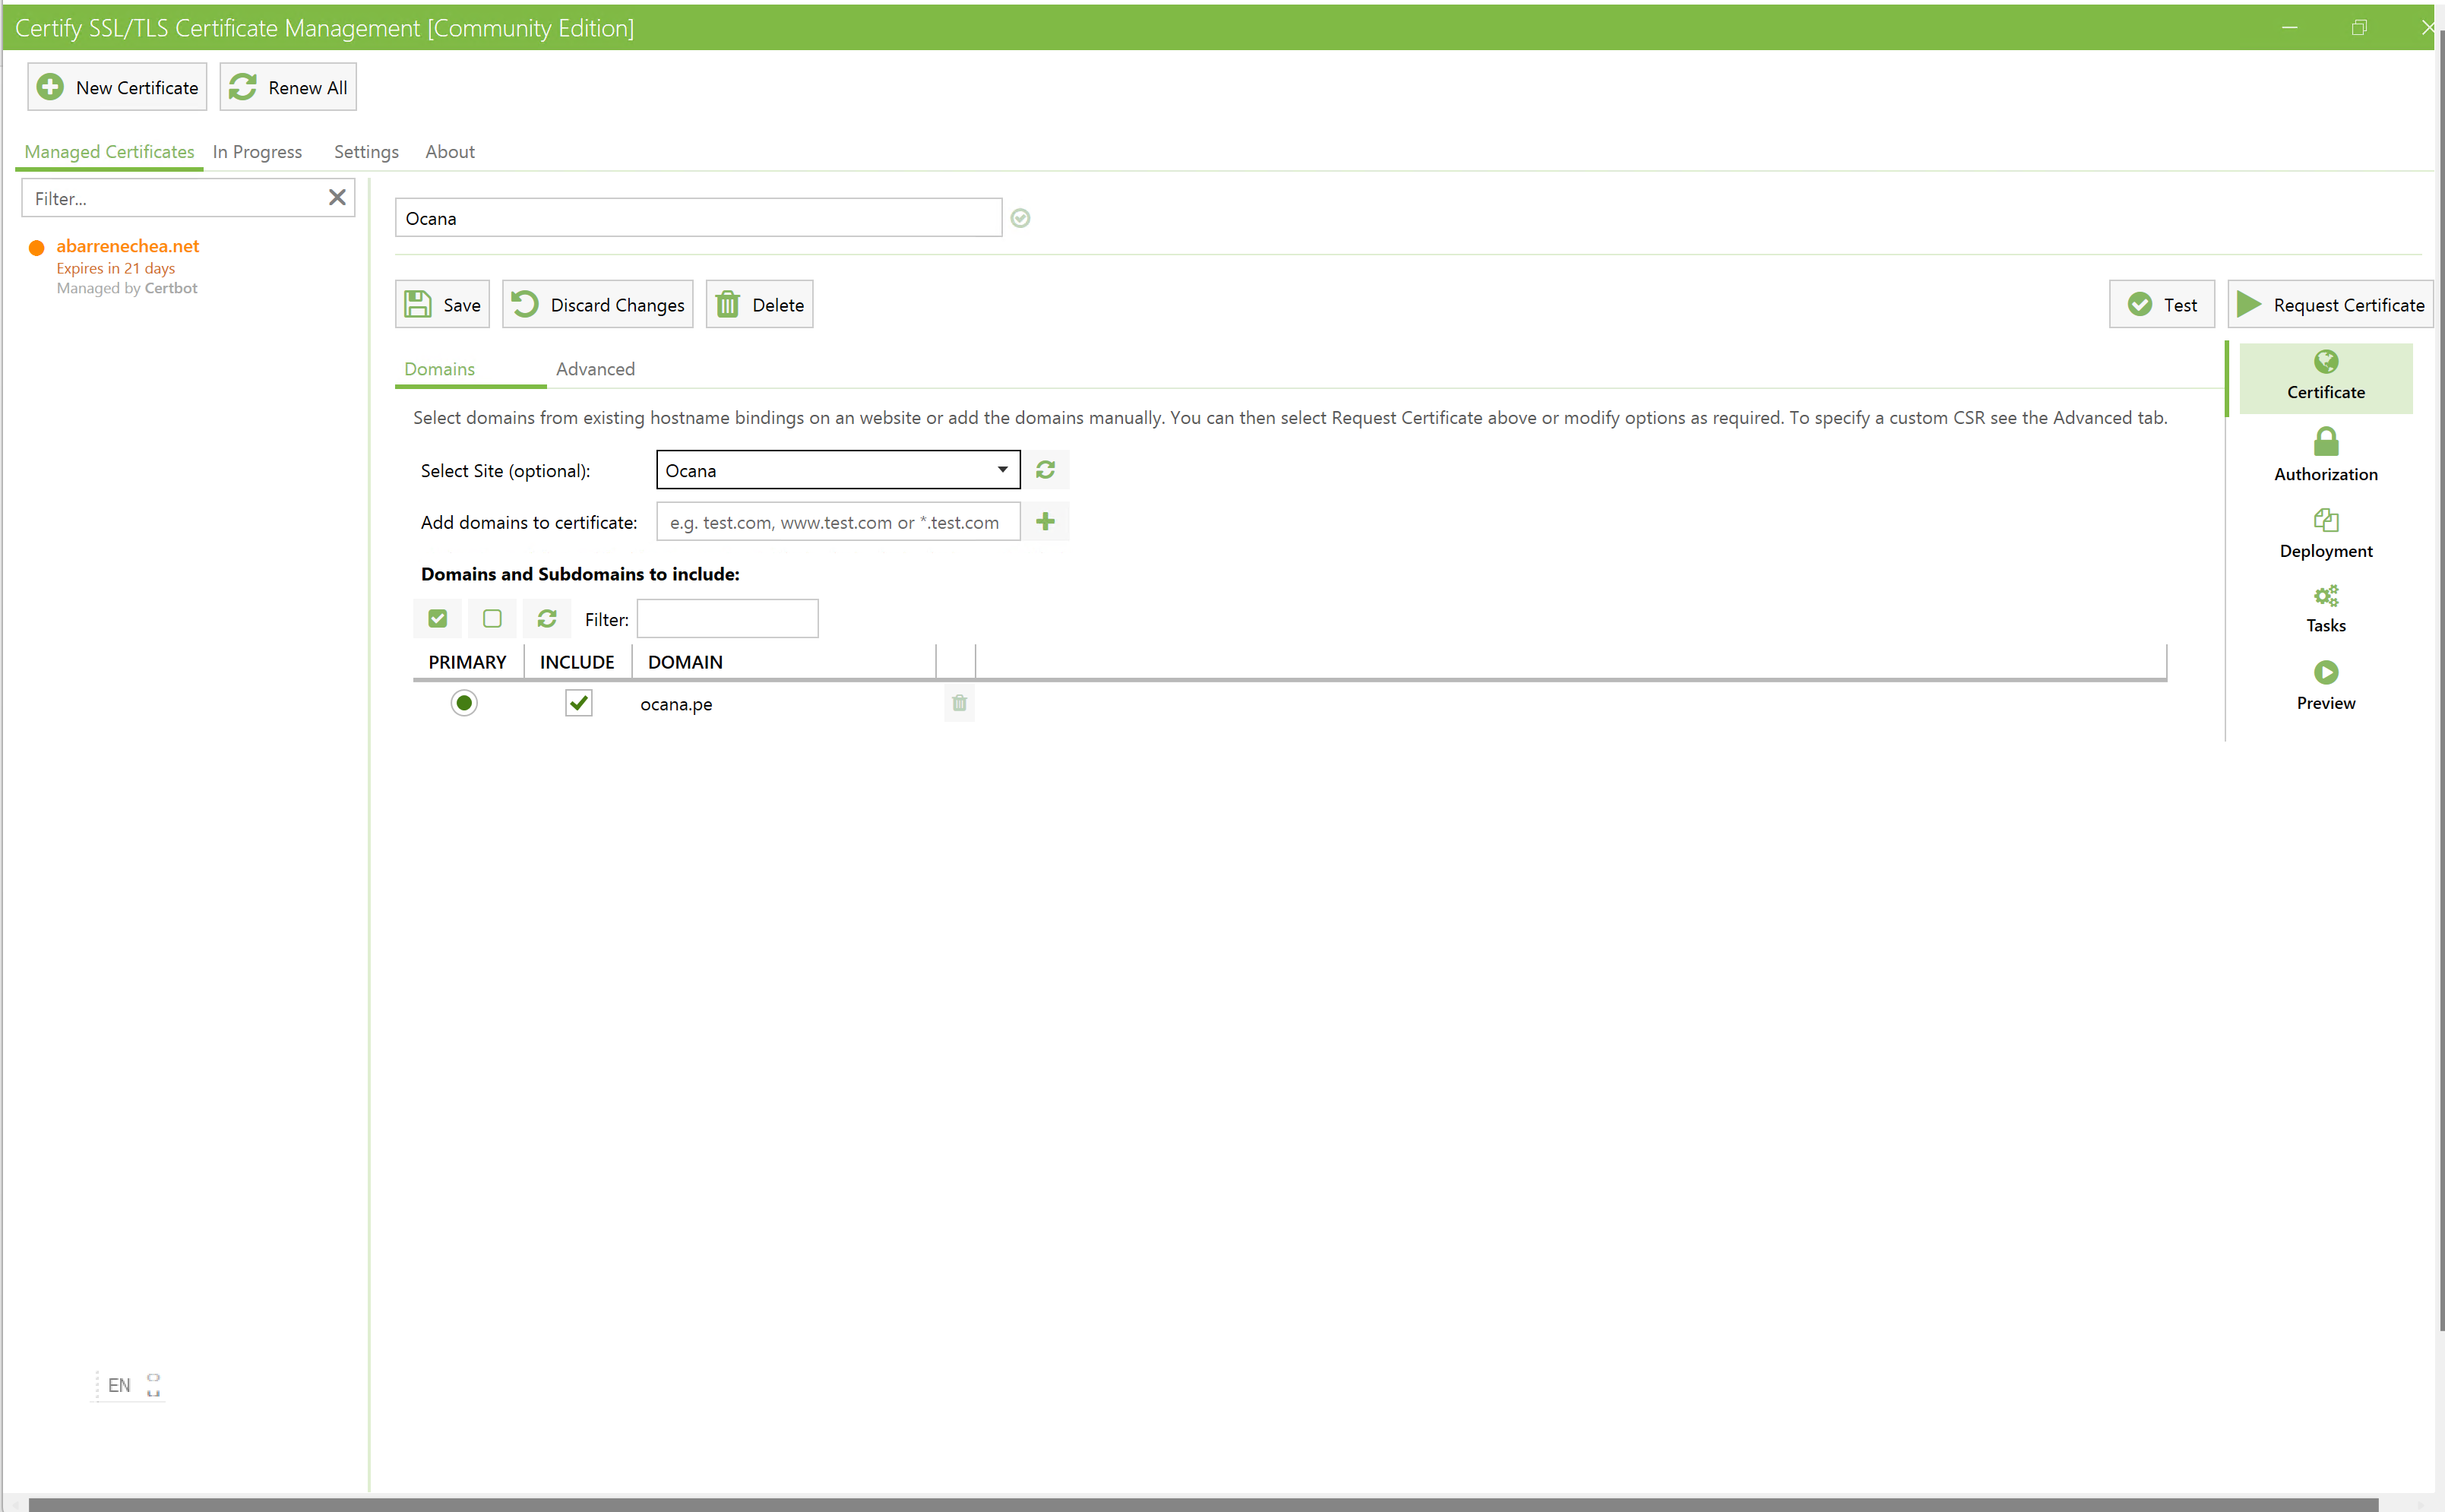
-
There are some other configurations you can set, we will use the defautls.
The Authorization section will allow you to select between two options to validate your domain. Let's Encrypt provides HTTP validation and DNS validation, in this case we will use HTTP validation. This validation method will create a file in the following location /.well-known/acme-challenge and will be accessed during the process using port 80 and the followin URL http://
/.well-known/acme-challenge/ 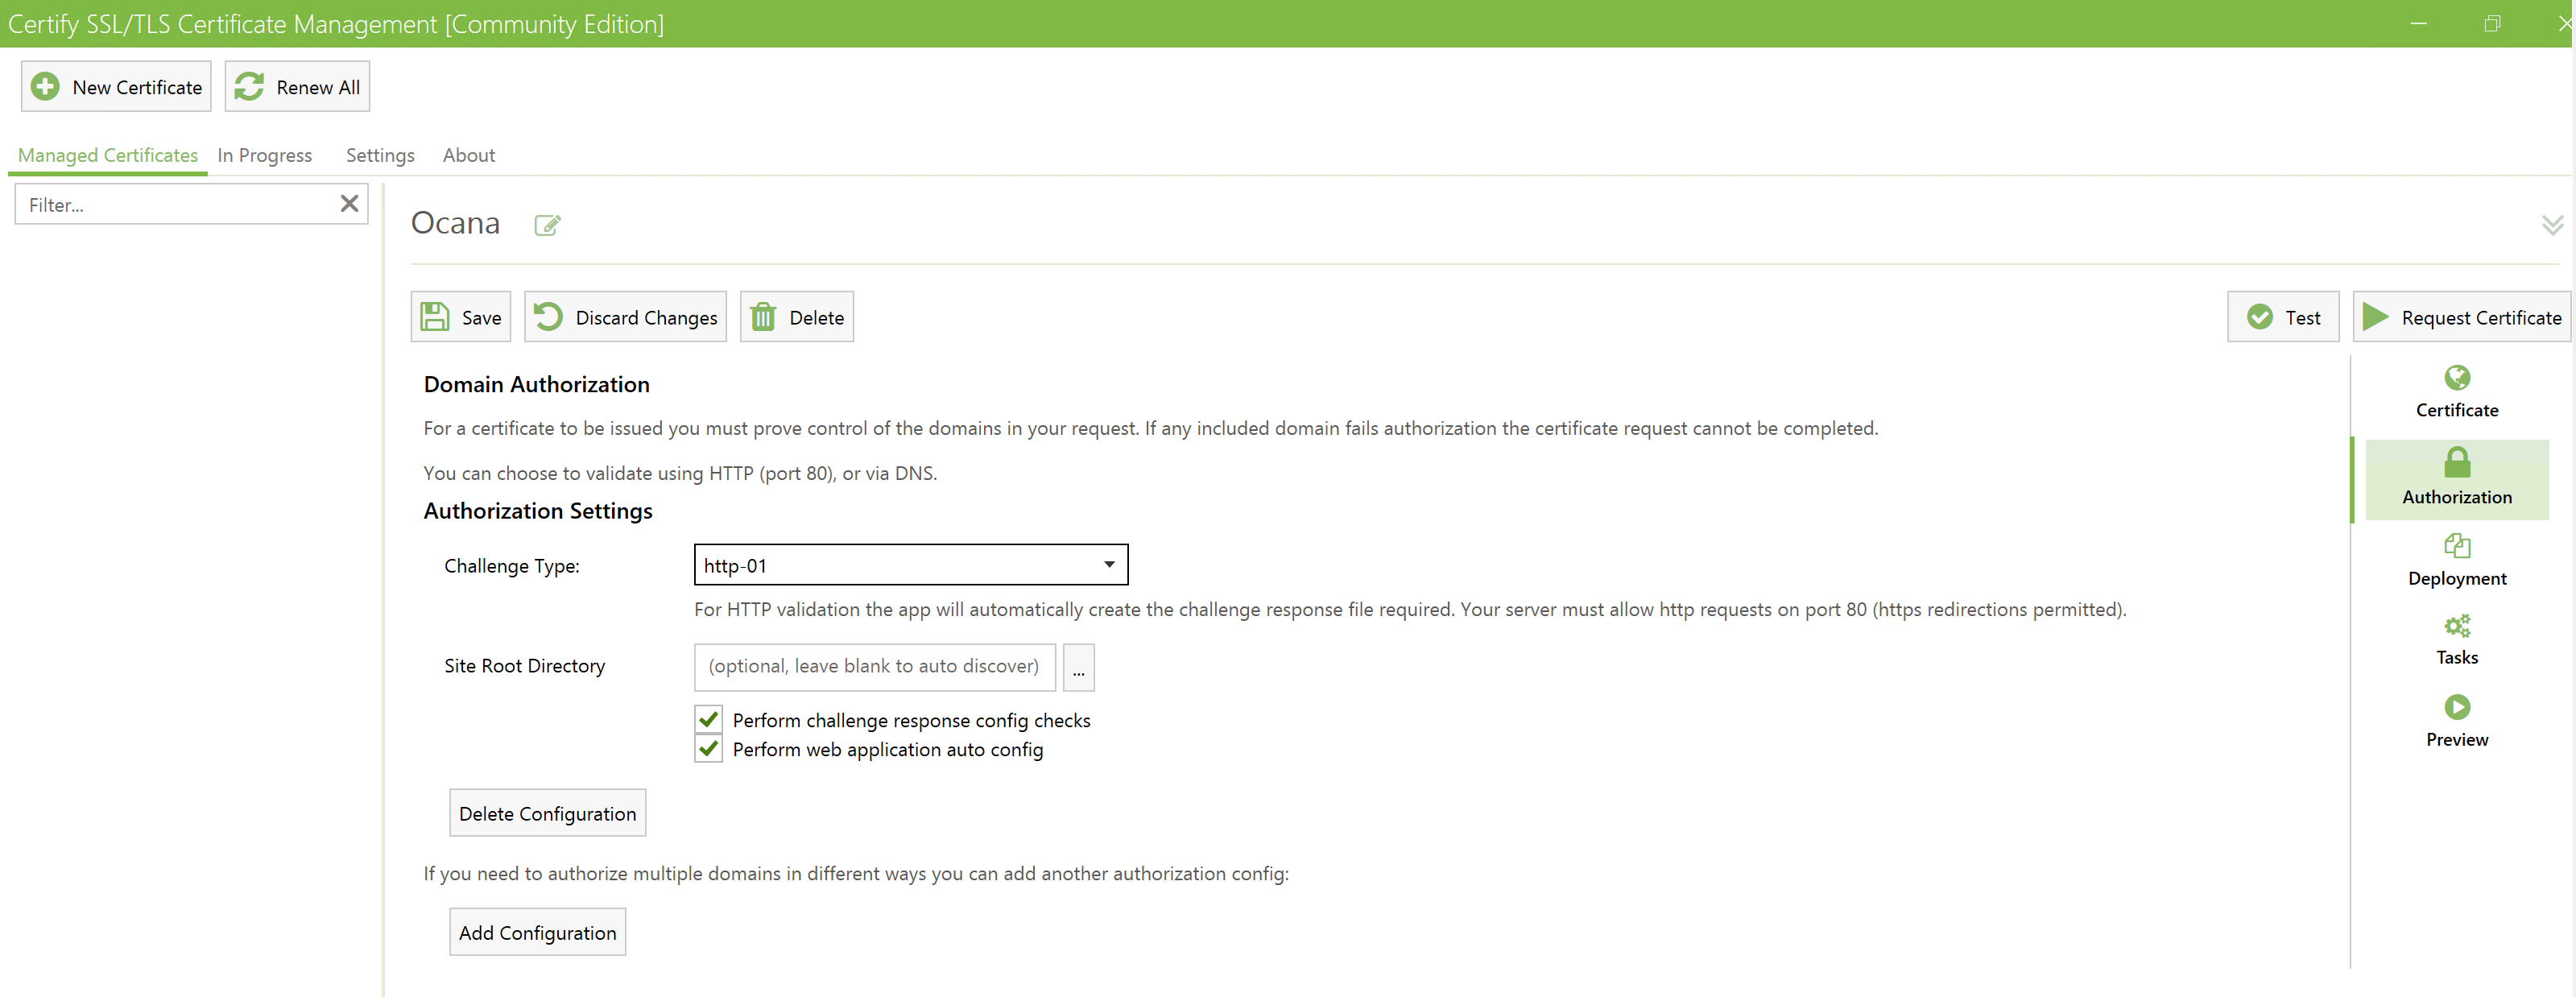
The Deployment section allows you to deploy the certificate to other environment such as Azure App Service. We are not changing nothing here since our website is runnig on this server.

The Tasks section allows you to execute a previous or post deployment script. We will not add anything here in this case.

-
The Preview section will show us a summary of all the configuration from the previous steps.
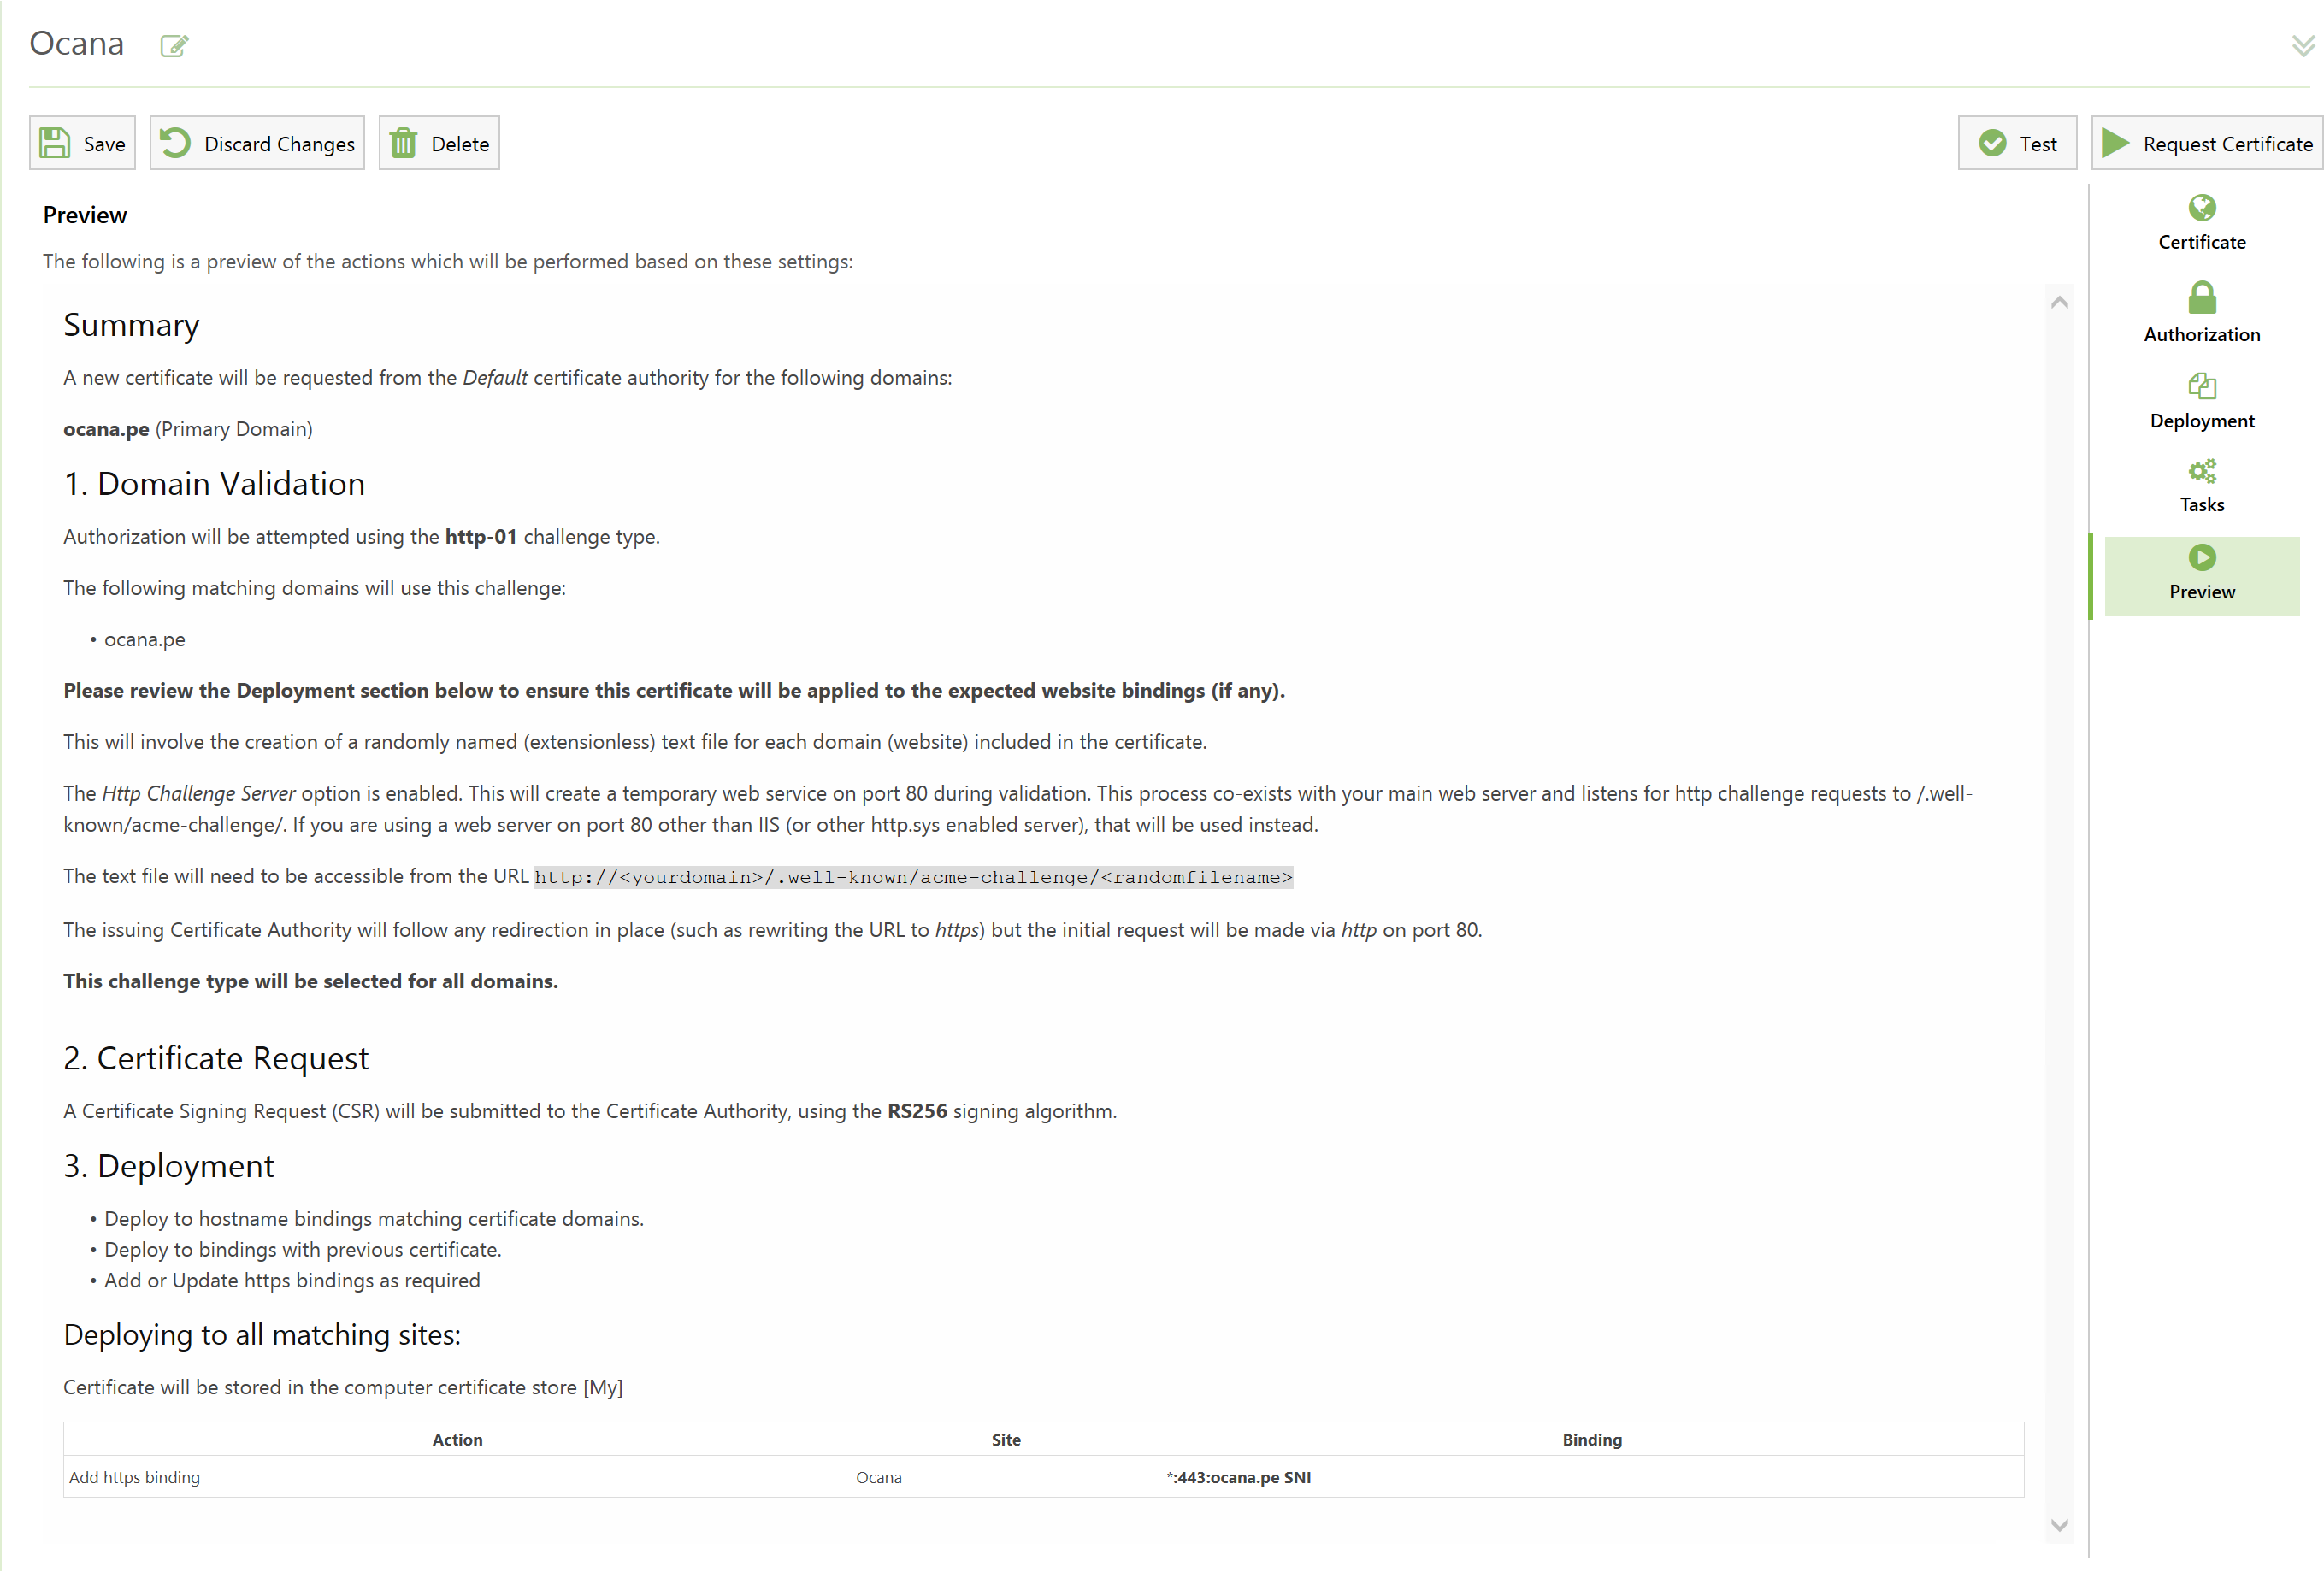
-
Now we are ready to start the process. Click on "Request Certificate", the process may take a few seconds. When it is

-
Now, if you go back to the "Managed Certificates" tab, you should see the status of of the certificate as "Certificate Active".
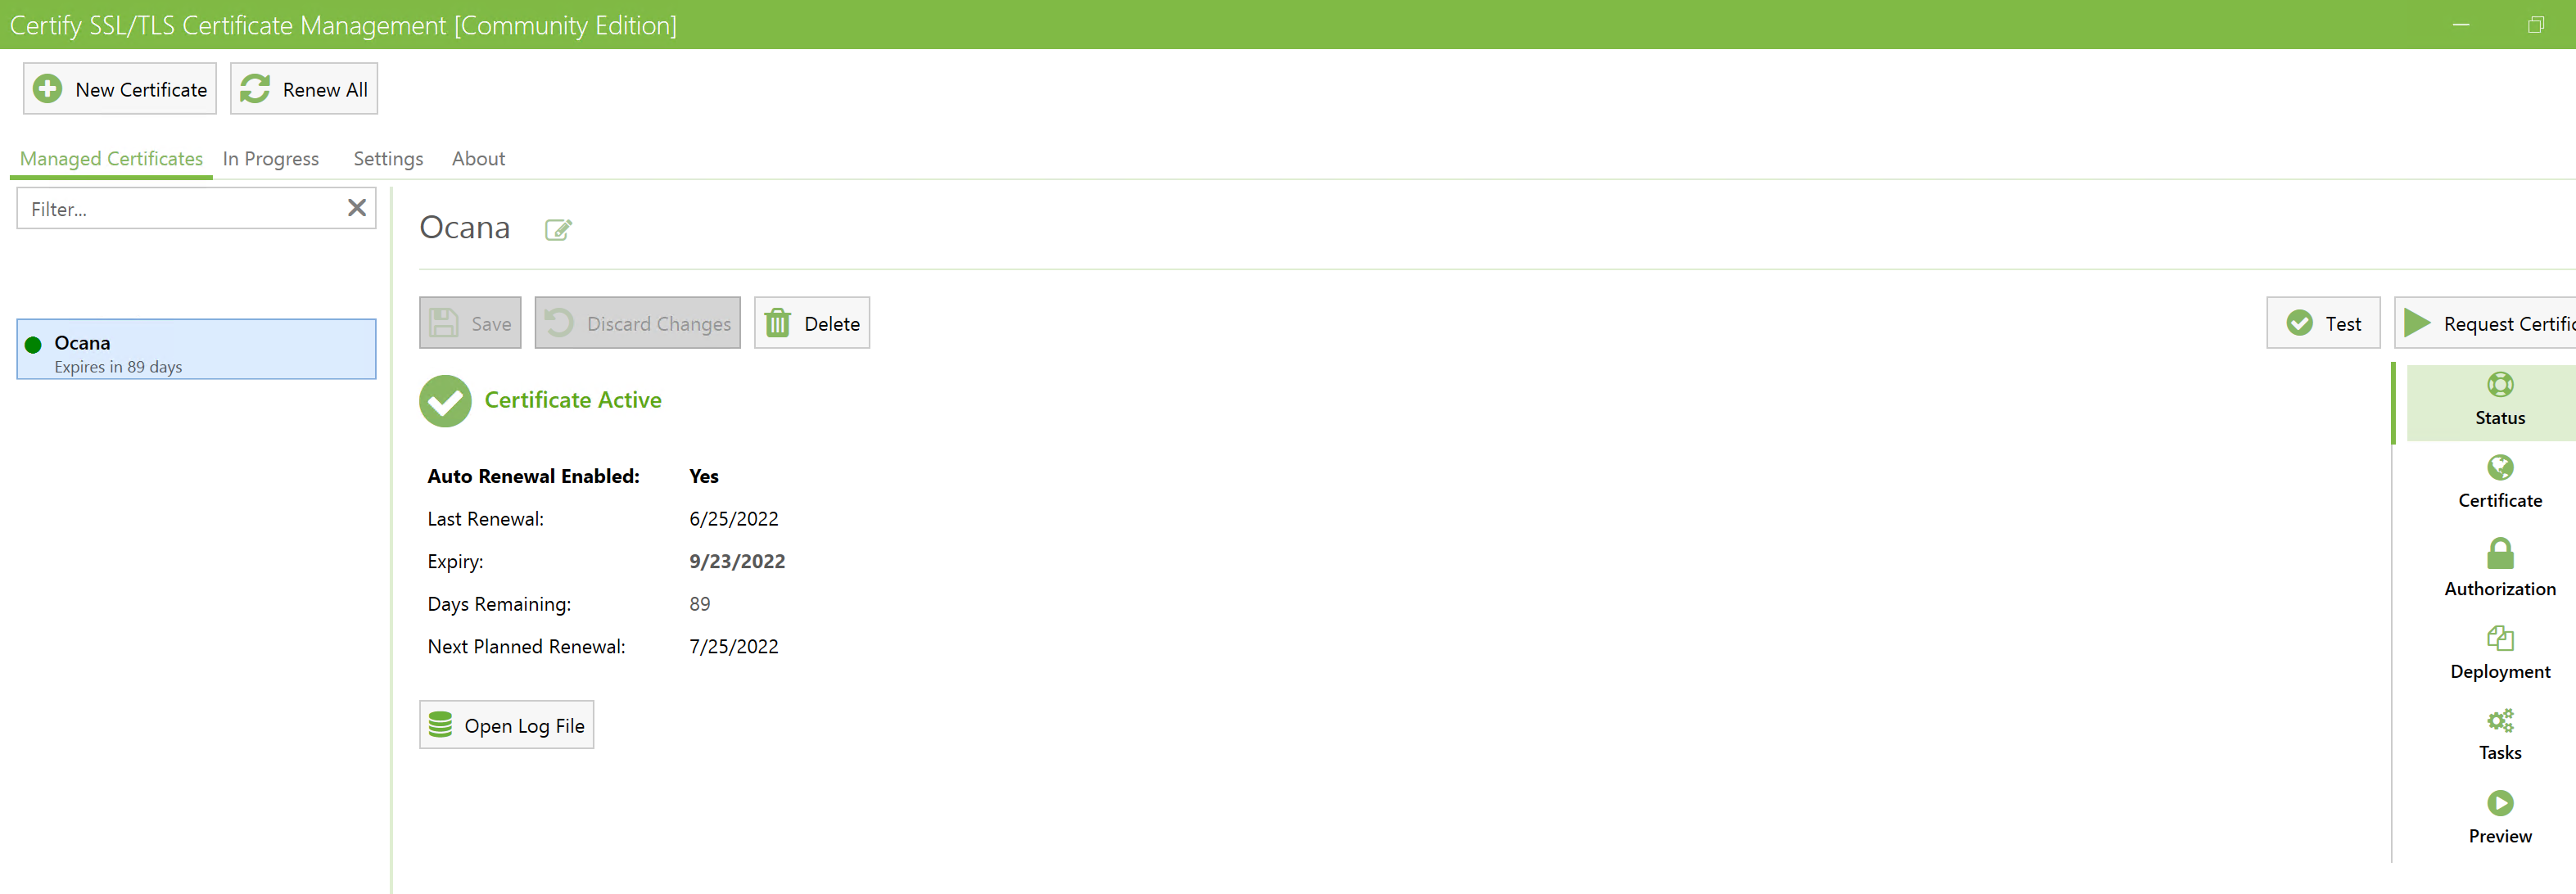
We can also verify the certificate has been properly setup using chrome.
